Product Installation Guide
Professional installation guidance to help you easily complete the installation of WPC products
WALL CLADDING Installation
Video
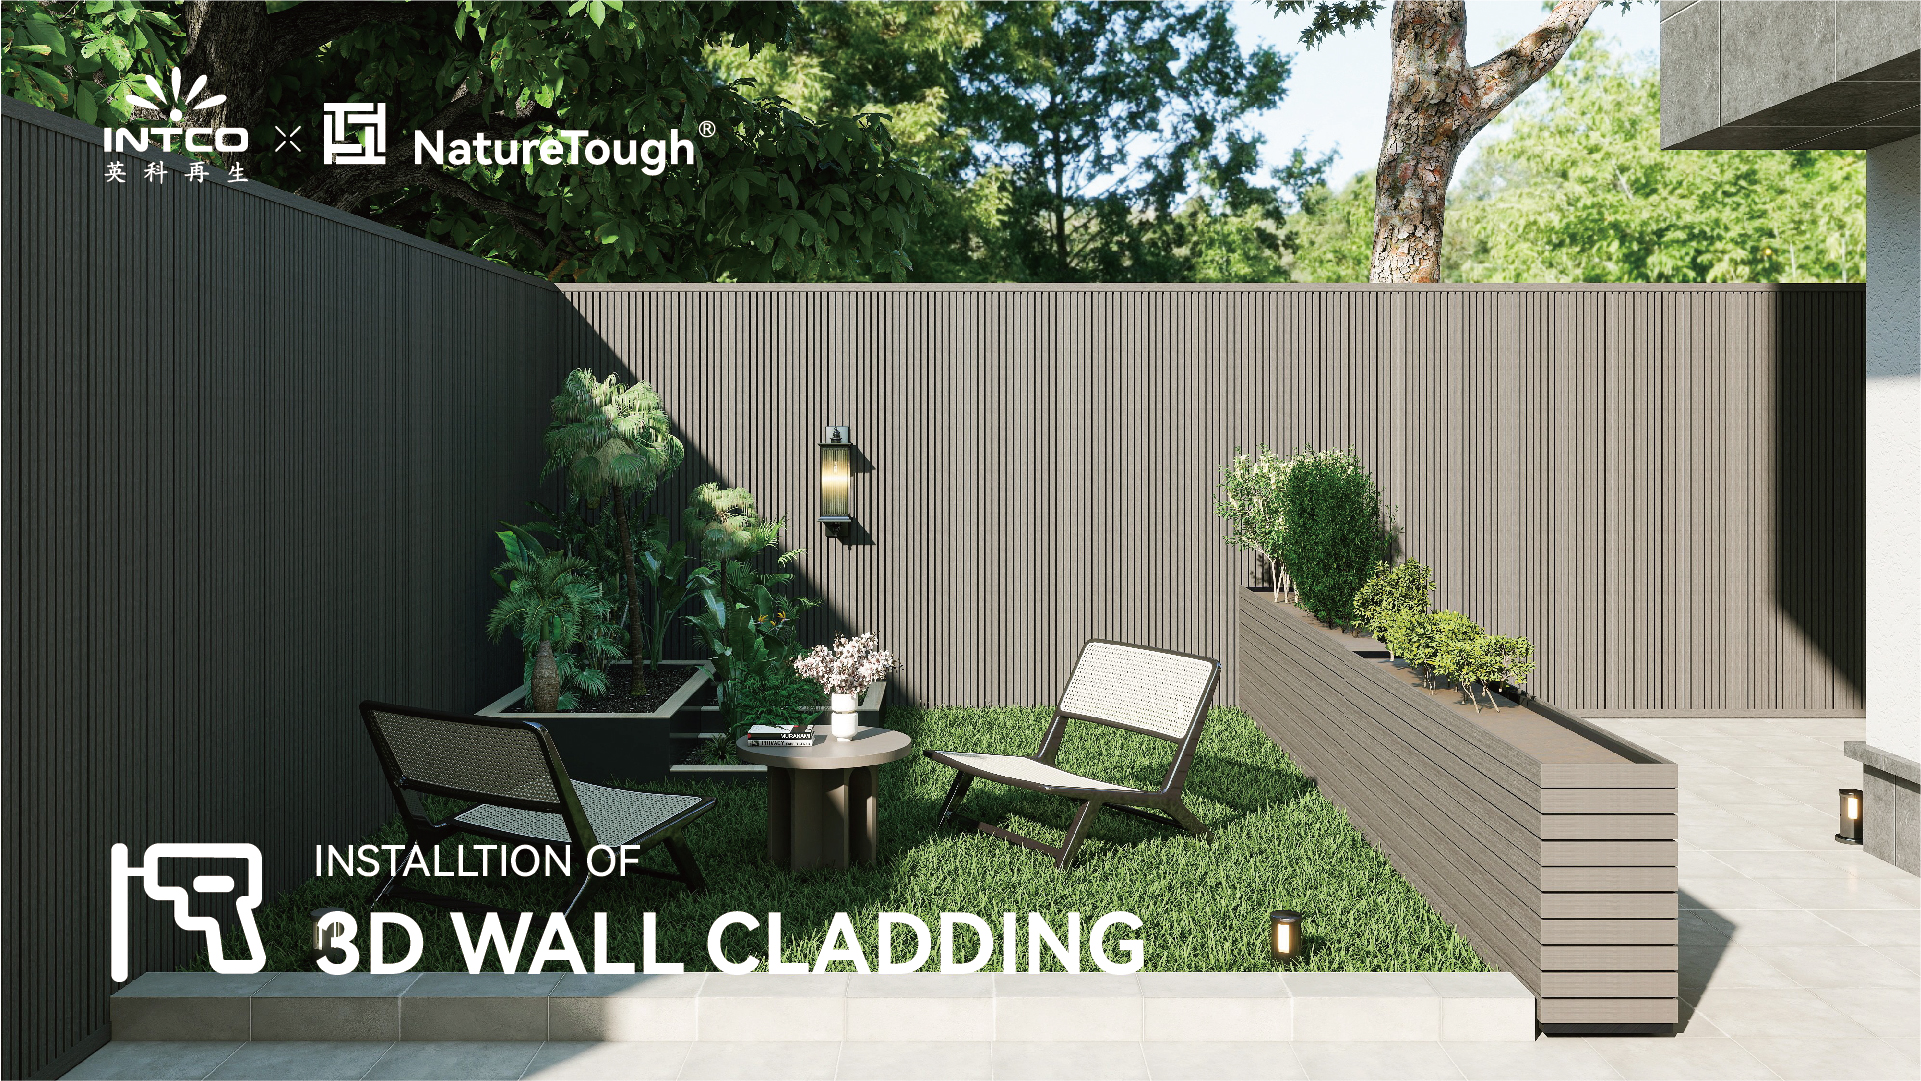
3D Wall Cladding Installation

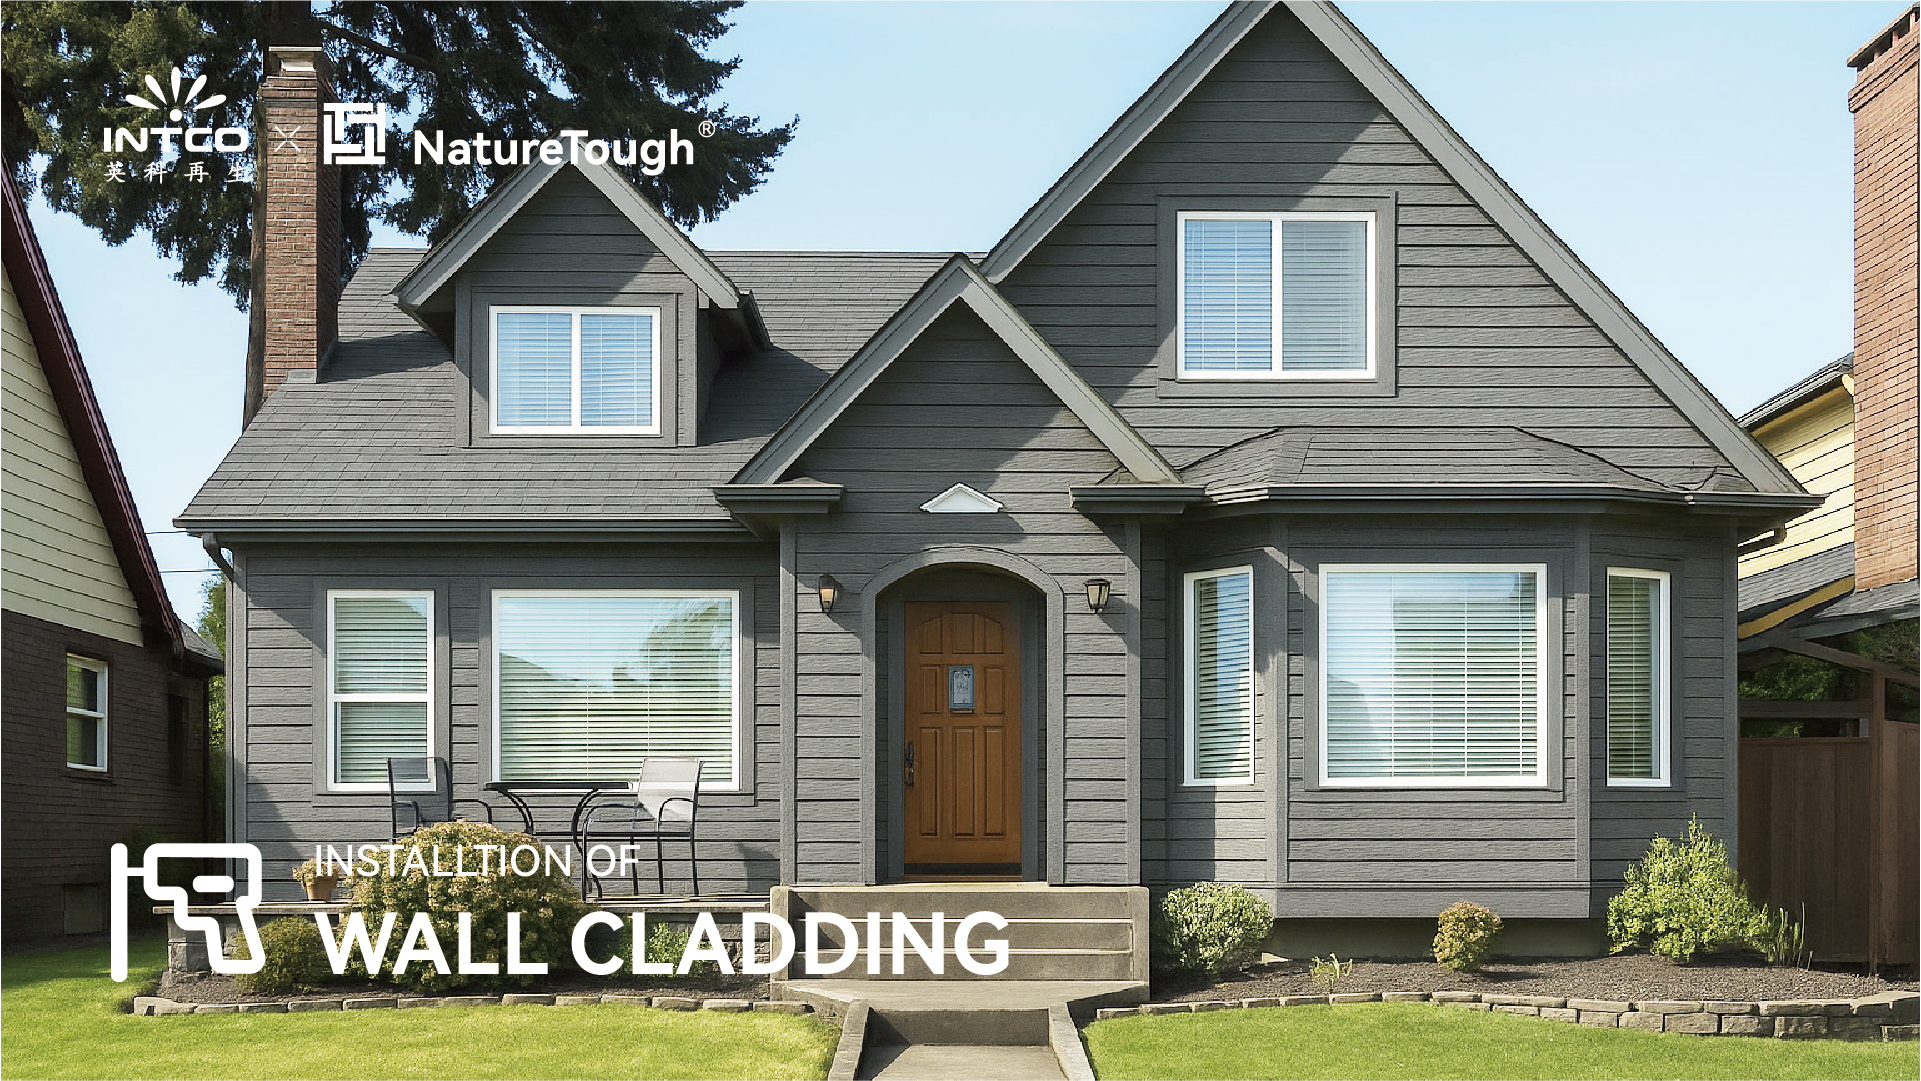
Installation - Wall Cladding

Picture
Installation: JE23-2

01. Install the keels horizontally using expansion screws

02. Use metal clips to install and secure the exterior corner and end cap

03. Install the wall panels sequentially from both sides

04. Cut the wall panels to fit the remaining length

05. Install the corner trim on the other side

06. Complete the installation of all wall panels
Installation: JE24-2/JE29-2/JE32-2

01. Install the keels using expansion screws

02. Install the inside corner trim and secure it to the keels with screws

03. Install the wall panels sequentially from bottom to top

04. Cut the wall panels to the appropriate length

05. Install the end cap and secure it to the keels with screws
