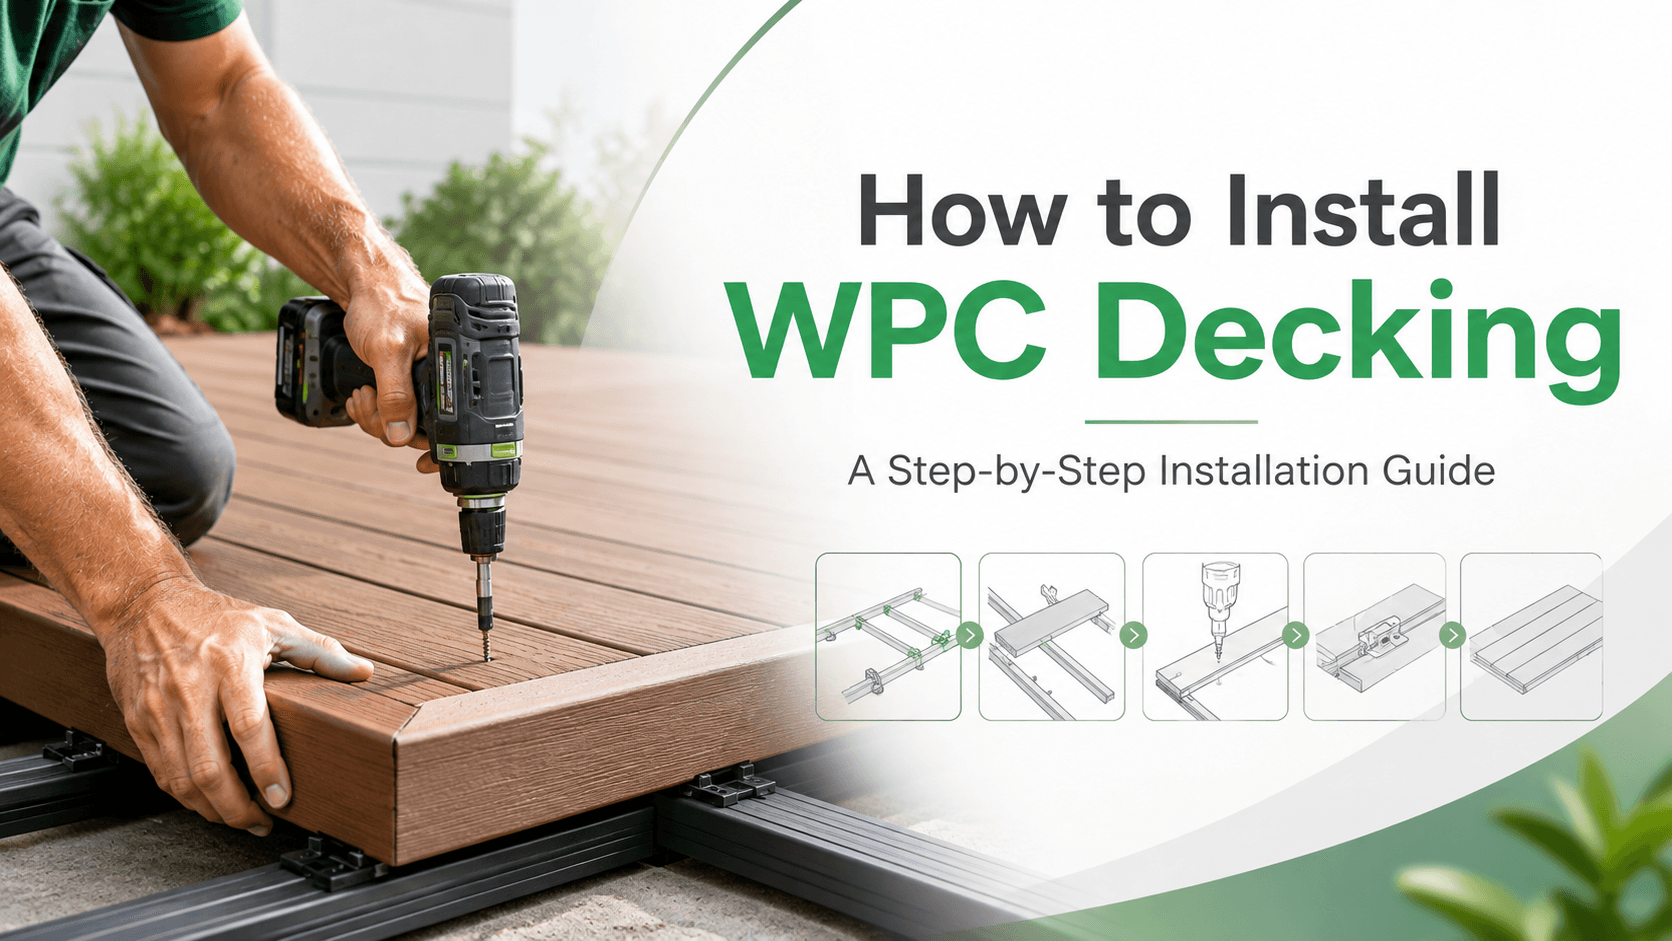
How to Install WPC Decking: A Step-by-Step Installation Guide
6th August, 2026WPC decking is durable, low-maintenance, and suitable for patios, gardens, balconies, pool areas, and other outdoor spaces. With the right tools and correct spacing, installation is simple.
Watch our installation video before you begin:
WPC Decking Installation Video: https://www.youtube.com/watch?v=jWW5p2-g4kU&t=7s
Tools and Materials
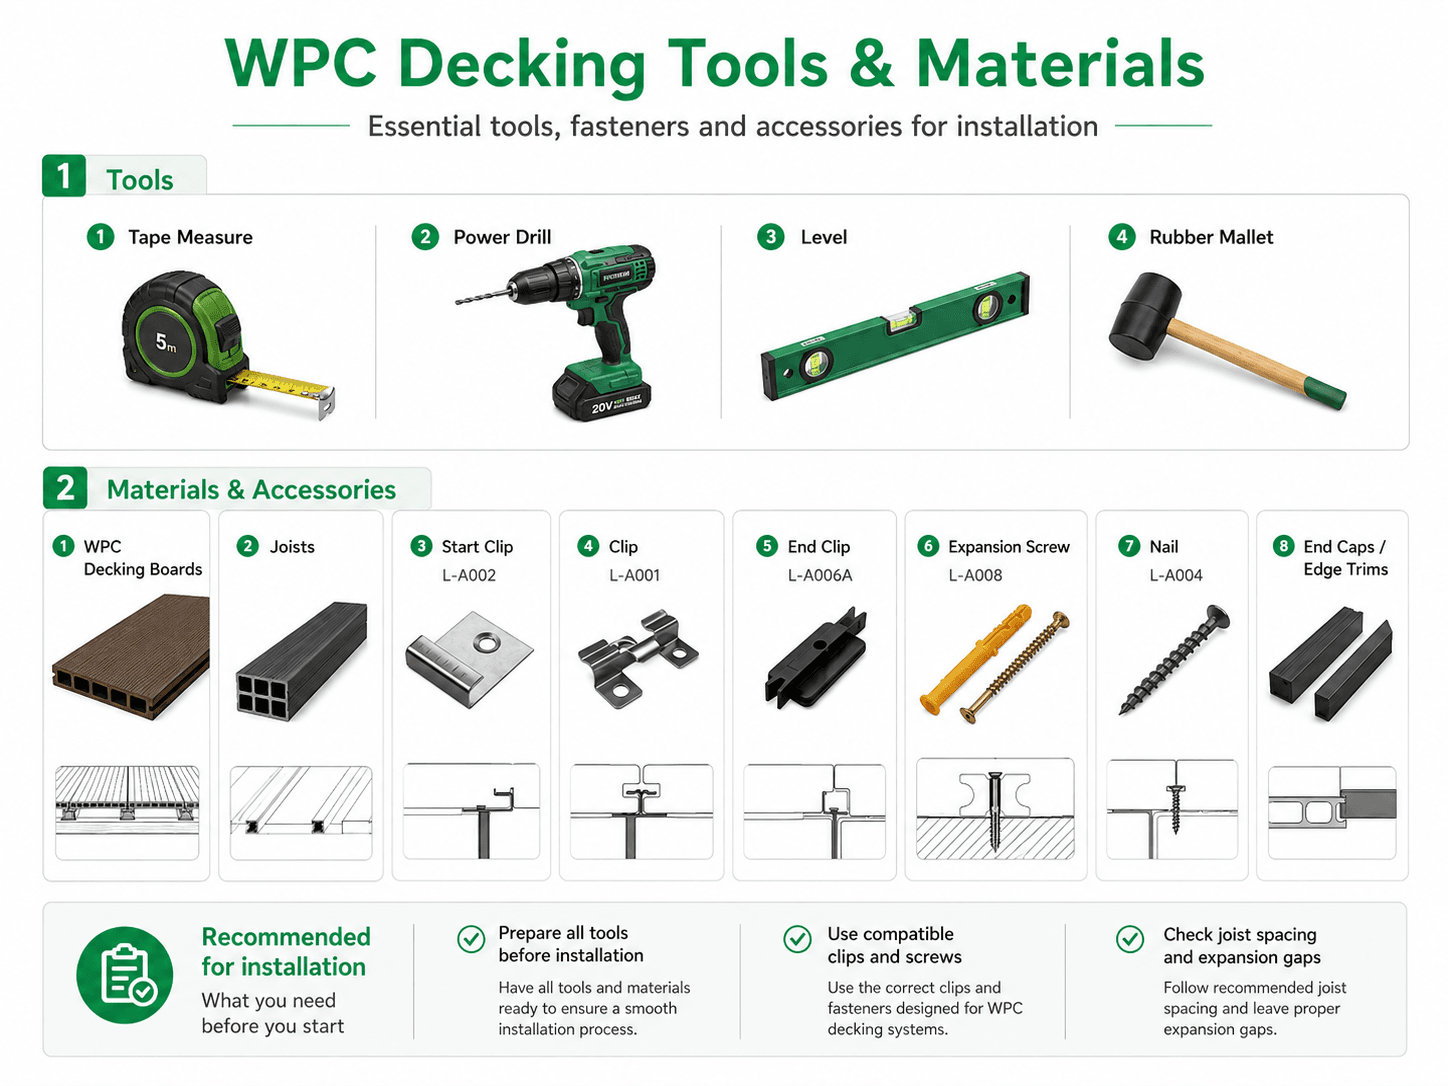
Prepare the following items:
- Tape measure
- Power drill
- Level
- Rubber mallet
- WPC decking boards
- keels
- Starter clips and locking clips
- Screws
- End caps or edge trims
How to Install WPC Decking
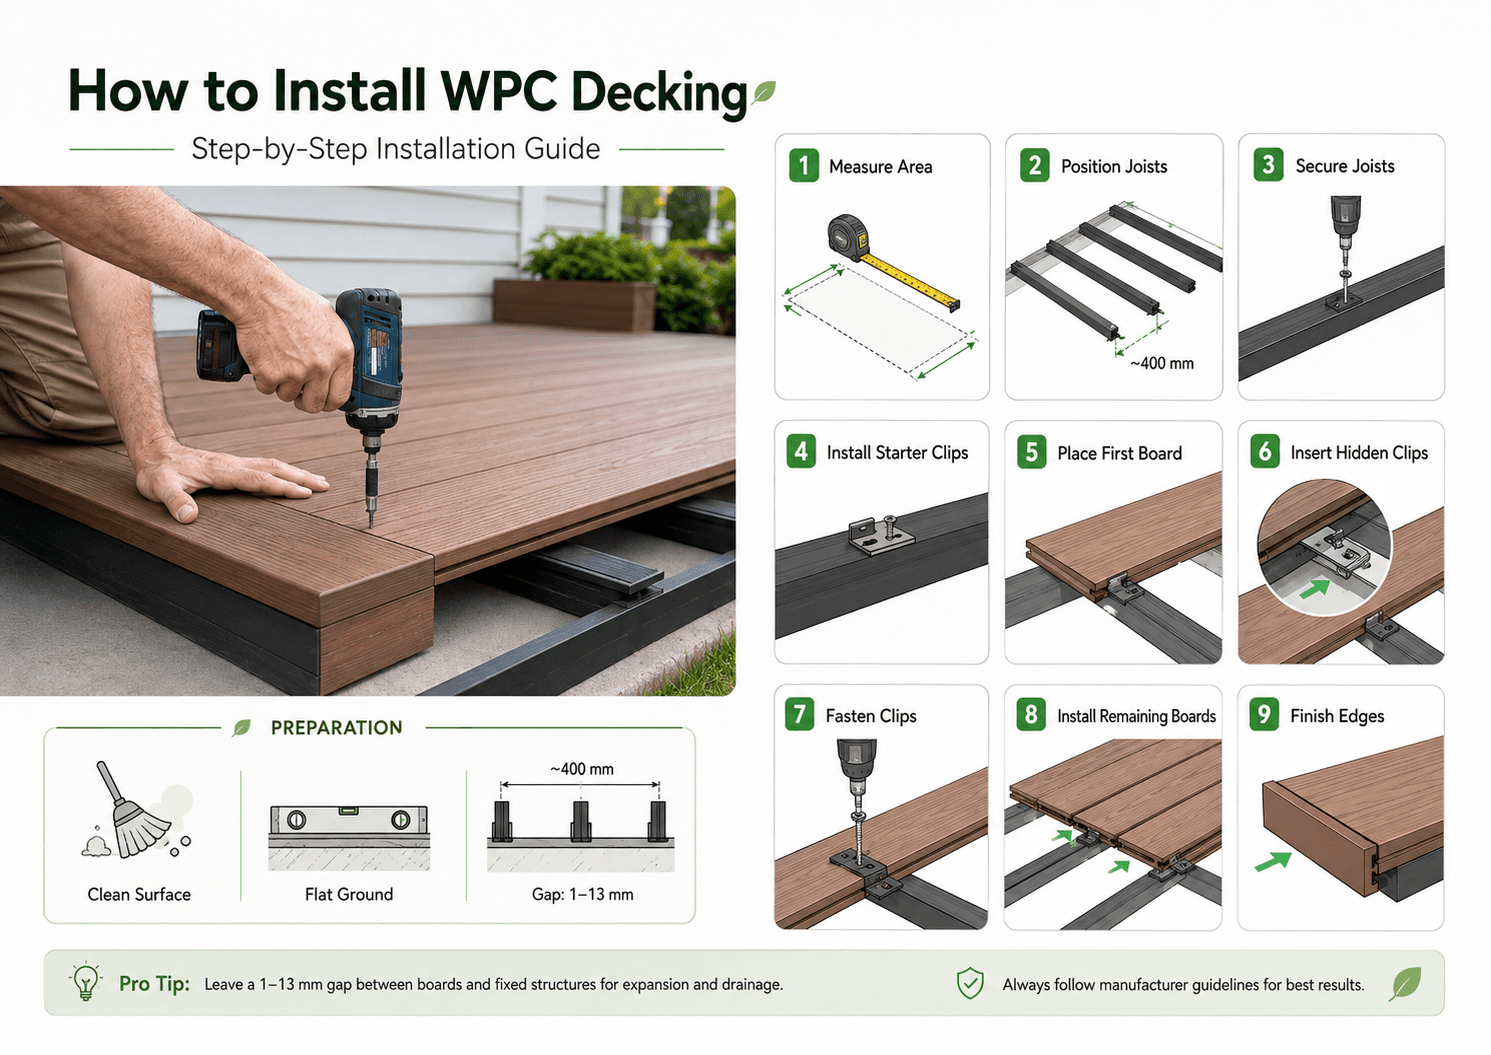
Step 1: Prepare the Ground
Clean the installation area and make sure the surface is flat, firm, and well-drained.
Do not install WPC decking directly on soft or uneven ground.
Step 2: Measure and Mark the Area
Measure the length and width of the installation area.
Mark the position of the keels and decide the direction in which the decking boards will be installed.
Step 3: Position the keels
Place the keels perpendicular to the decking boards.
Keep the keels straight and evenly spaced. For the system shown in the installation guide, the recommended keel spacing is approximately 400 mm.
Always check the product specifications before installation.
Step 4: Secure the keels
Pre-drill holes in the keels and fix them firmly to the ground with suitable screws or expansion anchors.
Check that all keels are level before continuing.
Step 5: Install the Starter Clips
Fix starter clips along the first keel line.
Make sure the clips are aligned, as they will determine the position of the first decking board.
Step 6: Install the First Board
Insert the first WPC decking board into the starter clips.
Use a rubber mallet to gently push the board into position. Leave enough space between the board and any wall or fixed structure for expansion.
Step 7: Insert the Decking Clips
Place hidden clips into the side groove of the first board.
Fix one clip at each keel position. Do not overtighten the screws, as the boards need a small amount of space to expand and contract.
Step 8: Install the Remaining Boards
Insert the next board into the clips and gently tap it into place.
Continue installing the boards one by one. Check the alignment and board spacing regularly.
Step 9: Finish the Edges
After all decking boards are installed, attach end caps, fascia boards, or edge trims to cover the exposed ends.
Clean the deck and remove any installation debris.
Important Installation Tips
Leave suitable gaps between boards and fixed structures to allow for temperature changes.
Make sure water can drain freely underneath the decking. Do not block drainage channels with keels or trims.
Use compatible clips, screws, keels, and accessories. Incorrect accessories may affect the stability and appearance of the deck.
For large, elevated, or commercial decking projects, professional installation is recommended.
Common Installation Mistakes
Avoid these common problems:
- Installing on uneven ground
- Placing keels too far apart
- Forgetting expansion gaps
- Blocking water drainage
- Overtightening clips
- Installing the first board incorrectly
- Using unsuitable screws or accessories
Start Your WPC Decking Project
Correct installation helps WPC decking remain stable, attractive, and durable for years.
NatureTough provides WPC decking boards, keels, clips, fasteners, and finishing accessories for residential and commercial outdoor projects.
Looking for WPC decking for your next project?
Contact NatureTough to request:
- A free product catalog
- WPC decking samples
- Wholesale pricing
- Installation support
FAQ
1. What direction should WPC decking keels run?
The support keels should normally run perpendicular to the decking boards. This provides consistent support and gives the clips a secure fixing point beneath every board.
2. What is the recommended keel spacing for WPC decking?
The illustrated NatureTough installation system shows support keels positioned at approximately 400 mm intervals. The actual maximum spacing must be confirmed using the technical requirements for the selected decking profile and project load.
3. Do you need gaps between WPC decking boards?
Yes. Gaps are needed for thermal movement, drainage, and ventilation. Hidden clips generally control the side-to-side board spacing, while additional clearance is needed at board ends and around fixed structures.
4. Can WPC decking be installed directly on the ground?
Decking boards should not normally be laid directly onto soil or an unsupported, uneven surface. They require an appropriate level foundation and support-keel system.
5. Do I need to pre-drill WPC decking?
Pre-drilling is recommended for keels, starter clips, edge trims, board ends, and other locations specified in the installation manual. It can improve screw positioning and reduce the risk of damaging the material.
6. Can WPC decking be cut like wood?
WPC boards can generally be cut using suitable woodworking equipment and an appropriate fine-tooth blade. Support the board properly, mark the cut carefully, and wear the required protective equipment.
Planning a decking project or expanding your outdoor product range?
Contact NatureTough to:
- Request the latest WPC decking catalog
- Order product samples
- Receive a wholesale quotation
- Compare decking profiles and colors
- Confirm accessories and installation requirements
- Get technical support for your project